console migration
We recommend that you migrate the single-machine deployment console to Rainbond for management after you have completed the deployment of Rainbond and clusters through rapid deployment and have basically experienced Rainbond.
Deploy the console to Rainbond
Before starting the deployment, please ensure that the remaining memory resources of the cluster are greater than 2GB.
First, still access the Rainbond console and create asystem serviceteam to deploy system applications.Enter the team space and select Add to create a component based on the application market.Searchrainbond in the open source app store to findRainbond - open sourceapps.
Please note that if you have not completed the application store binding, please register and log in the cloud application store account in the enterprise view application store management.

Click Install, select the latest version (5.3.0 is the latest version that supports this deployment mode), and complete the deployment of the Rainbond console.After the console starts successfully, you can access the new console through the default domain name.Complete the registration of the administrator account in the new console to enter the data recovery page.
Please note that if you need to use a cloud database or a self-built high-availability database, you can add an external database through a third-party component and replace the Mysql database component in the installed application.The connection variable information in the third-party component needs to be consistent with the Mysql component.
Both Rainbond-UI and Rainbond-console components can be scaled horizontally.
Back up the data of the old console
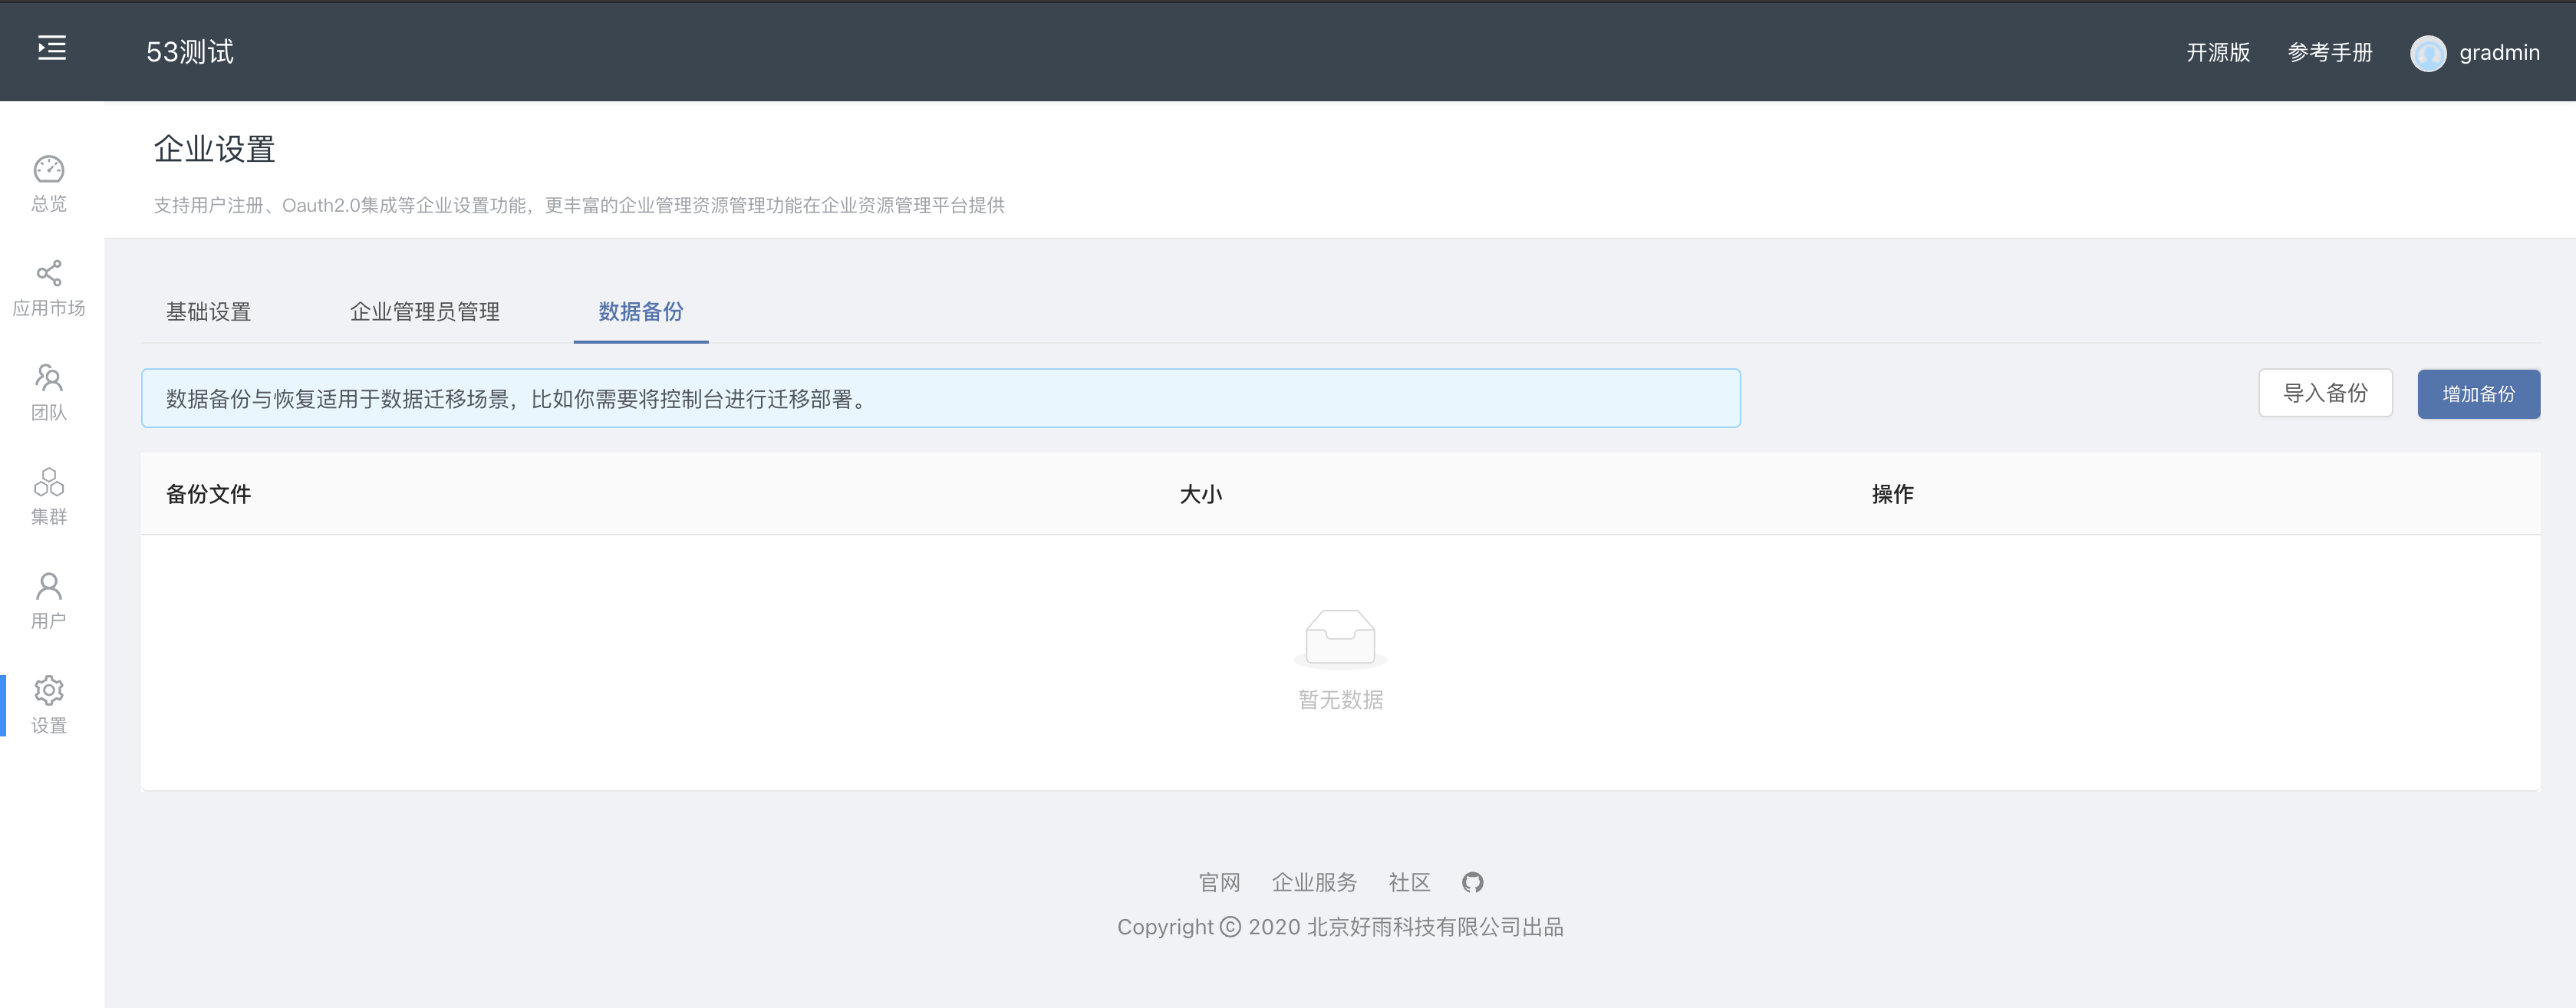
Go back to the Enterprise View->Settings page of the old console and switch to the data backup page.as shown below:

Clickto add backupto backup the latest data of the old console.

After the backup is successful, a backup record will appear as shown in the figure above. Click Download to download the backup data to the local backup.
If there is no response to the click to download, it may be that your browser (such as Google) has rejected the download action, please change your browser and try again.
Import data to the new console
Visit the new console deployed in Rainbond, and also go to the data backup page, click Import Backup, and upload the backup data downloaded in the previous step.
Note that it is important to ensure that the source console version of the backup data is the same as the new console version.
After the upload is successful, clickto restoreto import the data into the new console.After the recovery is successful, you need to log outand log in with the account informationthe old console.You will find that the data has been migrated successfully.
Please note that if the platform automatically logs out after recovery, please re-visit the new console domain name, do not carry the path path, and log in with the account of the old console.Because historical data has expired.
Now that the console migration has been completed, you can use the platform gateway policy management to bind your own domain name or TCP policy to the console.Reference Document
Please pay attention to regularly backing up the platform data to facilitate the off-site recovery of console services in an emergency.
Please remember the
grctl service getquery command on the scaling management page for all components of the console, which is helpful to operate the component on the cluster side in an emergency.
Known Issues
After the console is migrated, the installation cluster information will not be restored when restoring the backup. You need to manually copy the cluster installation information.
- Install grctl tool.
- Enter the
cluster to install the driver servicecomponent > Scale and copygrctlquery command, and execute the query command to find/app/dataon the server.
- Enter the
- Copy the data from
to /rainbonddata/cloudadaptor/enterpriseto the storage path of the previous step, the cluster installation driver servicecomponent.
- Copy the data from
- Enter the enterprise view > cluster > node configuration, if the node information exists, it is successful.